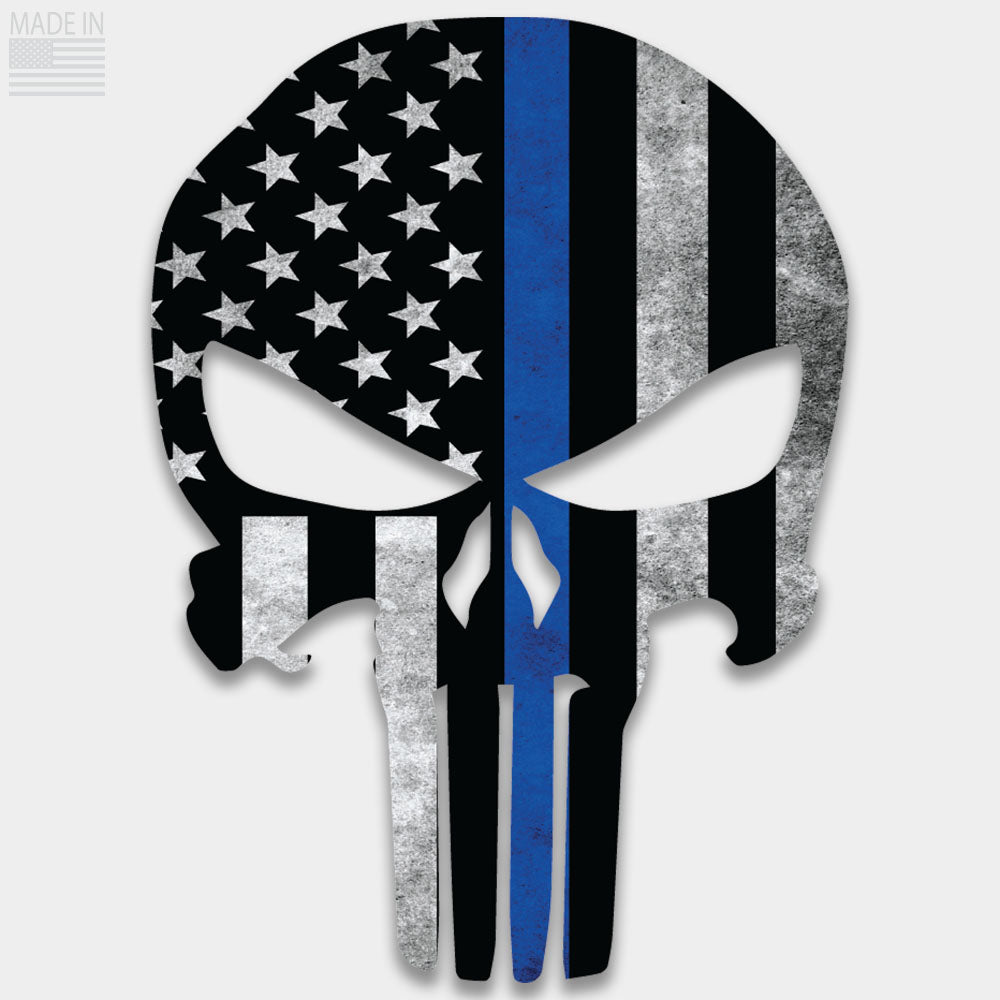
Thin Blue Line Punisher Decal
Application Instructions
APPLICATION INSTRUCTIONS:
This decal can be applied to most hard, smooth, non-porous surfaces such as glass, metal, plastic, mirrors, etc.
1. CLEAN - Wipe the surface you are applying your decal to with rubbing alcohol and a lint free cloth. Do not use glass cleaners or similar products because it will leave a residue which will prevent the sticker from adhering well. Allow surface to dry completely before applying your decal.
2. PREP - Prepare the decal for application by firmly rubbing a squeegee, credit card, or other smooth, firm object across the transfer tape.
3. PEEL - Slowly peel the paper backing off the sticker. If any part of the sticker will not release from the backing, slowly replace the paper backing and repeat step 2 and try peeling the backing paper again.
4. APPLY - Place one side of the transfer tape onto the surface, and press it down with your credit card or squeegee. Apply the decal in a rolling motion using the card/squeegee to apply pressure as you lay the decal onto the surface. Once the decal is applied, firmly rub the decal working from the center to the edges in all directions to remove air bubbles.
5. REMOVE TRANSFER TAPE - Slowly and carefully peel the transfer tape off at an angle back against itself. Be careful not to pull the sticker off the surface. If the decal starts to pull away from the surface, replace the transfer tape and rub the decal again working from the center to the edges.
TIPS
* Apply decal as soon as possible for best results.
* It is best to apply your decal when it is at room temperature.
* Don't apply to extremely hot or cold windows or surfaces.
* If air bubbles appear, use a straight pin to poke the center of the bubble and smooth the air out by pushing towards the pin hole.
* Decal CAN NOT be repositioned after application.
* For best results, allow decal to cure for at least 24 hours before washing or
handling.
*DO NOT MICROWAVE
*DO NOT SOAK
*DO NOT SCRUB
*NOT DISHWASHER SAFE
*NOT recommended for walls or painted surfaces. Damage may occur when the decal is removed
*MAY NOT stick to textured, rubberized or silicone surfaces
Materials
VINYL:
- Premium, Outdoor rated vinyl - Made in USA
PRINTING:
- Designed and Printed in the USA using premium UV Cured Inks
Choose options

Application Instructions
APPLICATION INSTRUCTIONS:
This decal can be applied to most hard, smooth, non-porous surfaces such as glass, metal, plastic, mirrors, etc.
1. CLEAN - Wipe the surface you are applying your decal to with rubbing alcohol and a lint free cloth. Do not use glass cleaners or similar products because it will leave a residue which will prevent the sticker from adhering well. Allow surface to dry completely before applying your decal.
2. PREP - Prepare the decal for application by firmly rubbing a squeegee, credit card, or other smooth, firm object across the transfer tape.
3. PEEL - Slowly peel the paper backing off the sticker. If any part of the sticker will not release from the backing, slowly replace the paper backing and repeat step 2 and try peeling the backing paper again.
4. APPLY - Place one side of the transfer tape onto the surface, and press it down with your credit card or squeegee. Apply the decal in a rolling motion using the card/squeegee to apply pressure as you lay the decal onto the surface. Once the decal is applied, firmly rub the decal working from the center to the edges in all directions to remove air bubbles.
5. REMOVE TRANSFER TAPE - Slowly and carefully peel the transfer tape off at an angle back against itself. Be careful not to pull the sticker off the surface. If the decal starts to pull away from the surface, replace the transfer tape and rub the decal again working from the center to the edges.
TIPS
* Apply decal as soon as possible for best results.
* It is best to apply your decal when it is at room temperature.
* Don't apply to extremely hot or cold windows or surfaces.
* If air bubbles appear, use a straight pin to poke the center of the bubble and smooth the air out by pushing towards the pin hole.
* Decal CAN NOT be repositioned after application.
* For best results, allow decal to cure for at least 24 hours before washing or
handling.
*DO NOT MICROWAVE
*DO NOT SOAK
*DO NOT SCRUB
*NOT DISHWASHER SAFE
*NOT recommended for walls or painted surfaces. Damage may occur when the decal is removed
*MAY NOT stick to textured, rubberized or silicone surfaces
Materials
VINYL:
- Premium, Outdoor rated vinyl - Made in USA
PRINTING:
- Designed and Printed in the USA using premium UV Cured Inks
